
How To Optimize Google Listing
Optimizing your Google Business page is the most essential activity for improving your local SEO results.
Optimized VS Unoptimized Google Business Listing:
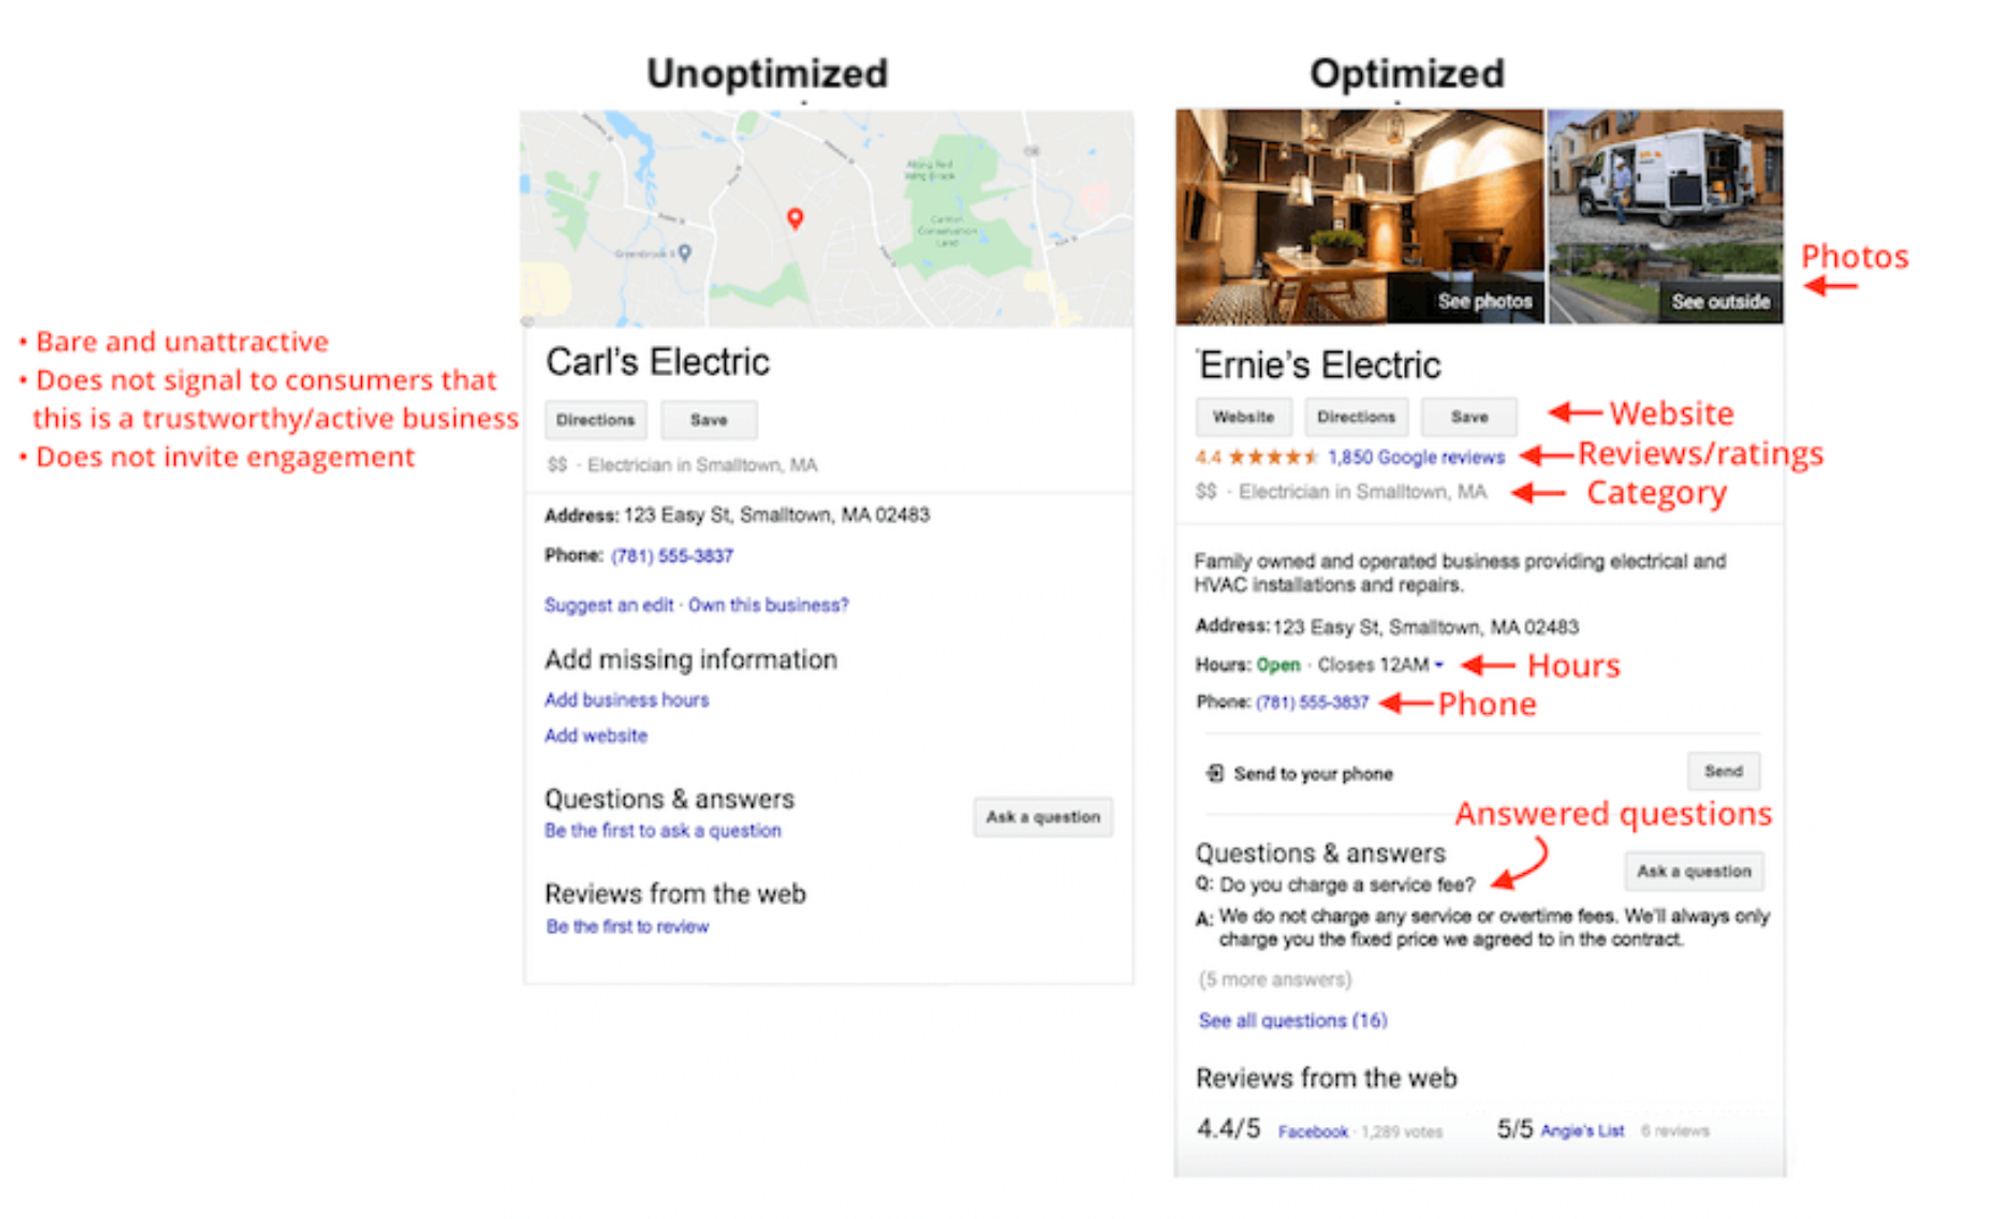
Many companies neglect their Google listing and miss out on free traffic. However, this process is simple, and can be completed quickly by following the checklist below:
Google Listing Optimization Checklist
Step 1: Create Or Claim Your Listing (If Not Already Done)
Step 2: Complete Every Section Of “Edit Profile”
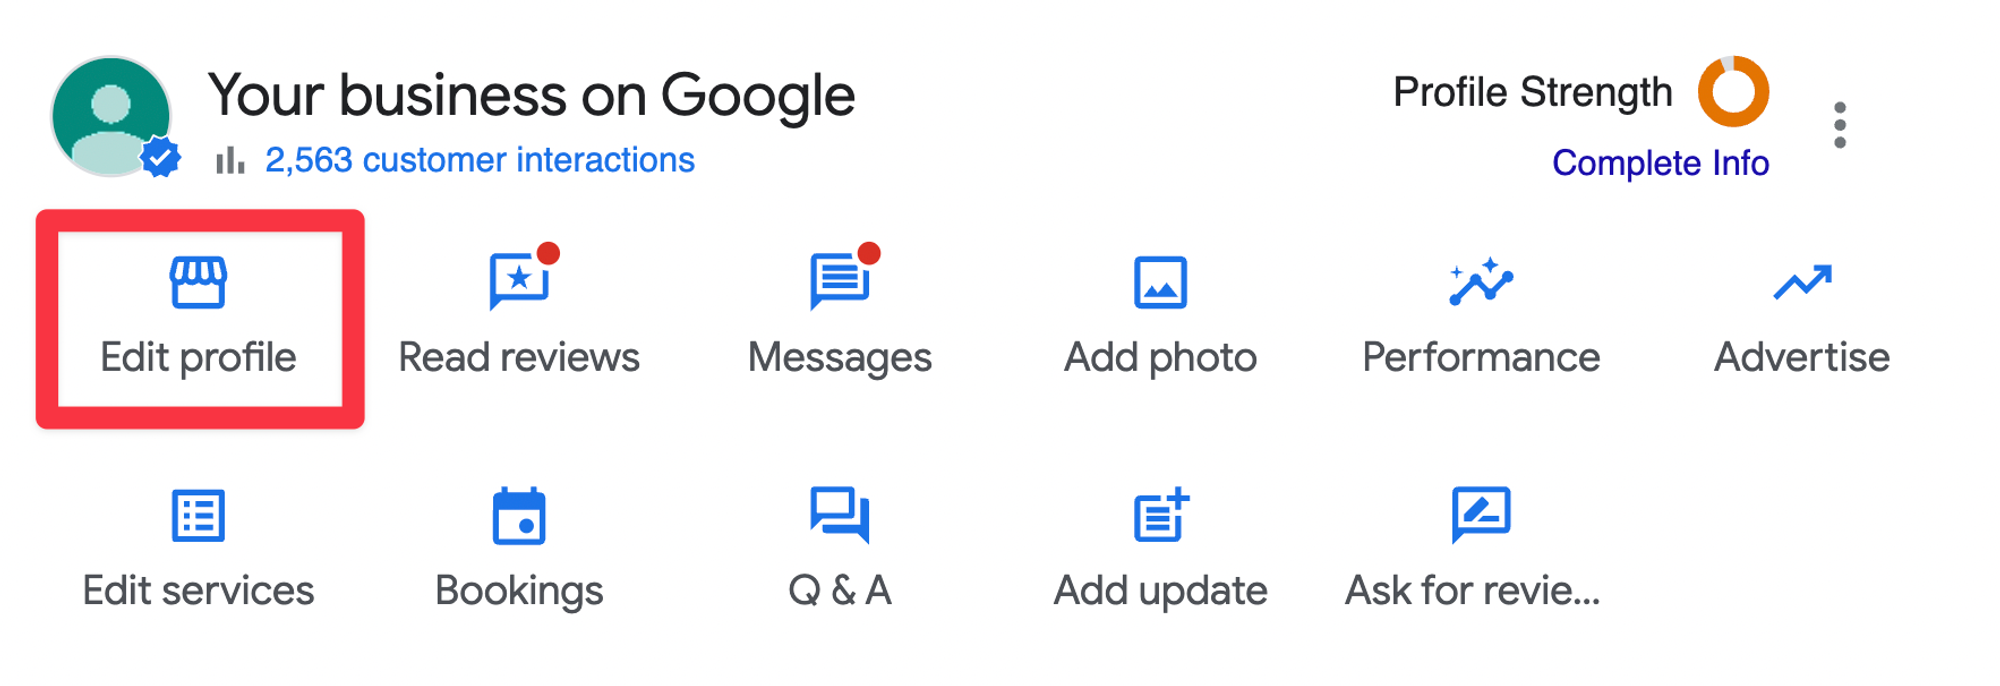
If you are the owner of a listing, you should see this section (see image above) show up at the top of the search results when you search for your business.
You can also visit https://business.google.com/ which will take you to your business profile manager.
Most of the fields for filling out your business profile are self-explanatory. Please refer to the notes below for specific instructions.
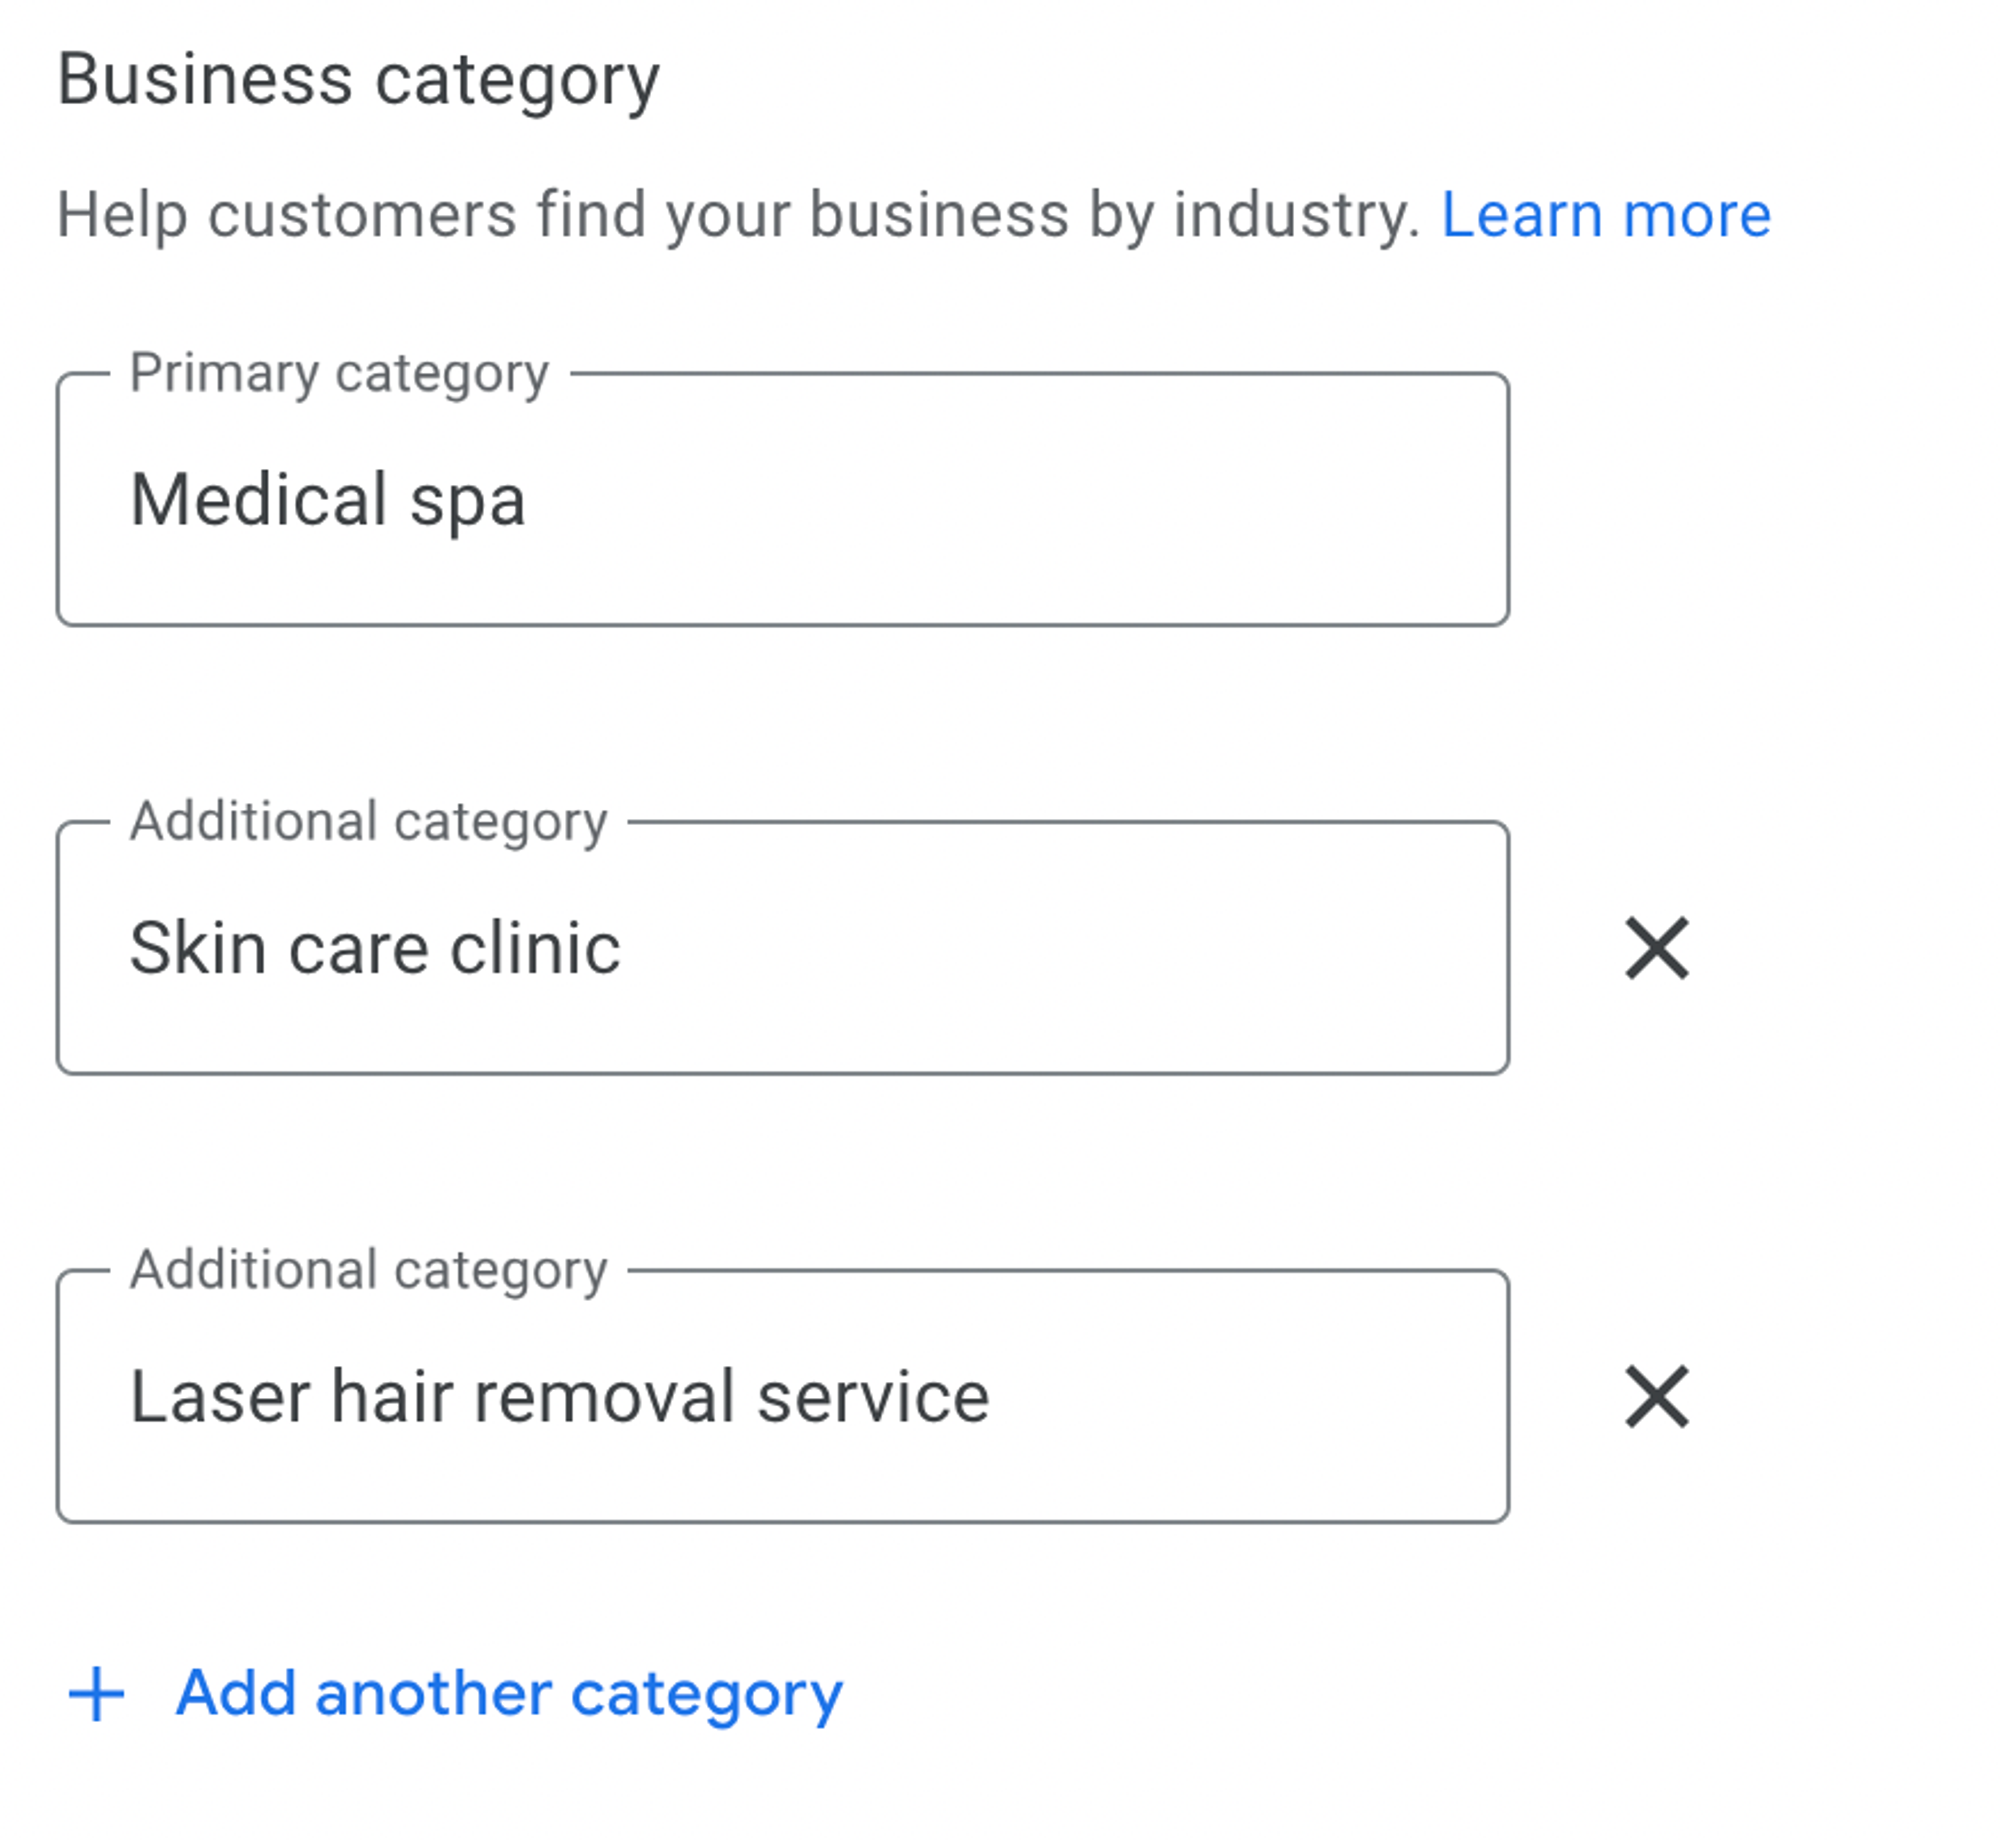
Business Category: Put “Medical spa” as the primary category and add as many other categories as you can.
Description:
Things to include:
What you offer
What sets you apart
Your history
Anything else that's helpful for customers to know
Things to avoid:
Do not include URLs or HTML code.
Do not exceed 750 characters in the description field.
Example: We are the top Kawartha Lakes medical spa in business since 1993. We offer state-of-the-art, non-surgical cosmetic treatments led by Dr. Peter Ursel. Our focus is on helping you look your best - without looking fake, plastic, or overdone. Whether you're suffering from unsightly or painful leg veins, unwanted wrinkles, aging skin, or just want to look younger and refreshed, Dr. Ursel and his staff can help you.
Special Hours: Make sure to add any holidays that you’re not open
Menu Link: Leave blank
Step 3: Add Professional Photos
If you don’t have professional photos, hire a photographer ASAP for a full photoshoot of your office and staff.
Make sure to also add a cover photo. This will be the main photo that shows up in the search.
Make sure to include a high-quality logo.
Step 4: Add Services & Products
For products, you can link to your online store, if applicable.
Step 5: Add Bookings
If you have booking software that integrates with Google, you may be able to use the Featured Book button. If not, you can link to your online booking page if you have one.
Step 6: Answer Q&A and Setup Notifications
Make sure all questions are answered.
Make sure to turn on notifications for new questions by going to https://business.google.com/ → Settings.
Step 7: Turn On Google Business Messaging & Integrate With Our Software
Turn On Google Business Messaging
Turn on messages.
Turn on web notifications.
Integrate Google Business With Our Software
This will allow you to start getting messages directly to your software so you can respond to them.
Go to Settings → Integrations in your software account.
Connect your Google account.
Make sure the account you are integrating is the owner of Google My Business Profile.
Connect Google Business by selecting the profile you want to integrate.
Make sure "call tracking" is turned OFF.
Make sure "messaging' is turned ON.
Test the connection by searching your business on your phone, sending a message, and seeing if it shows up in the messaging tab of your software.
NOTES:
Once you integrate with Google My Business messaging, you will also be able to see new reviews show up on the Conversations page.
The AI Concierge is NOT currently available for Google Business messaging. This is coming soon. For now, you must manually respond to Google My Business messaging.
Step 8: Collect & Respond To Google Reviews
Visit the Google Review System article to start collecting Google reviews.
Make sure to respond to all reviews as soon as they come in. Failing to respond to Google reviews quickly can hurt your local SEO rankings.